December 30, 2012

Roasted Cauliflower Soup

I prefer recipes with minimal steps. I'm more likely to make it again and again and who wants to a sink full of dirty dishes? This recipe is an exception to my-not-so strict rule. This soup calls for roasting the vegetables before cooking them in broth. I usually prefer to make all soups in my slow cooker, but the roasting imparts loads of flavors and it's worth doing on a Sunday when your team is definitely out of the playoffs.

The flavors of this soup seem Middle Eastern to me, but I've already proven that isn't something I know much about it. Still, the honey at the end makes the finished product worthy of company.


Ingredients & Tools
  • 2 heads of cauliflower
  • 1 large onion [I had 2 medium-sized ones; perhaps I should start measuring onions in cups]
  • 6 cups of liquid [I used 2 cups of homemade chicken stock and 4 cups of water]
  • 1 teaspoon cayenne pepper
  • 2 tablespoons turmeric
  • 3 tablespoons Kosher salt
  • 4 tablespoons curry powder
  • honey
  • olive oil
  • 2 baking sheets or roasting pans
  • large stock pot
  • immersion or traditional blended
Preheat the oven to 450 degrees. The high temperature will produce excellent color and that brown color means flavor.


Chop the cauliflower and onion. It produces a lot. Split it evenly in two roasting pans or baking sheets. If you overcrowd one pan, the vegetables will steam instead of roast and you won't get the browning.

I used one pan and my dutch oven, since I needed the latter later in the recipe and it's one less thing to wash. Take the wins where you can.

Drizzle the vegetables liberally with olive oil and toss with your hands.

Roast for 30 minutes. Set a timer for 15 minutes and give everything a good toss at the half way mark.


Add the beautifully roasted vegetables to a large stock pot. 


Add the cayenne pepper, turmeric, curry, and salt. 


Mix and cook for 2-3 minutes over low heat to ensure all the cauliflower and onions have been seasoned.


Add the stock and the water. You could easily make this vegan by only using water or vegetable stock. If you use 100% stock, you may want to adjust the salt depending on the salt content of the stock.

Bring to a simmer. Cover and cook over a low flame for 20 minutes. This lets the cauliflower soften and the liquid to absorb flavor.
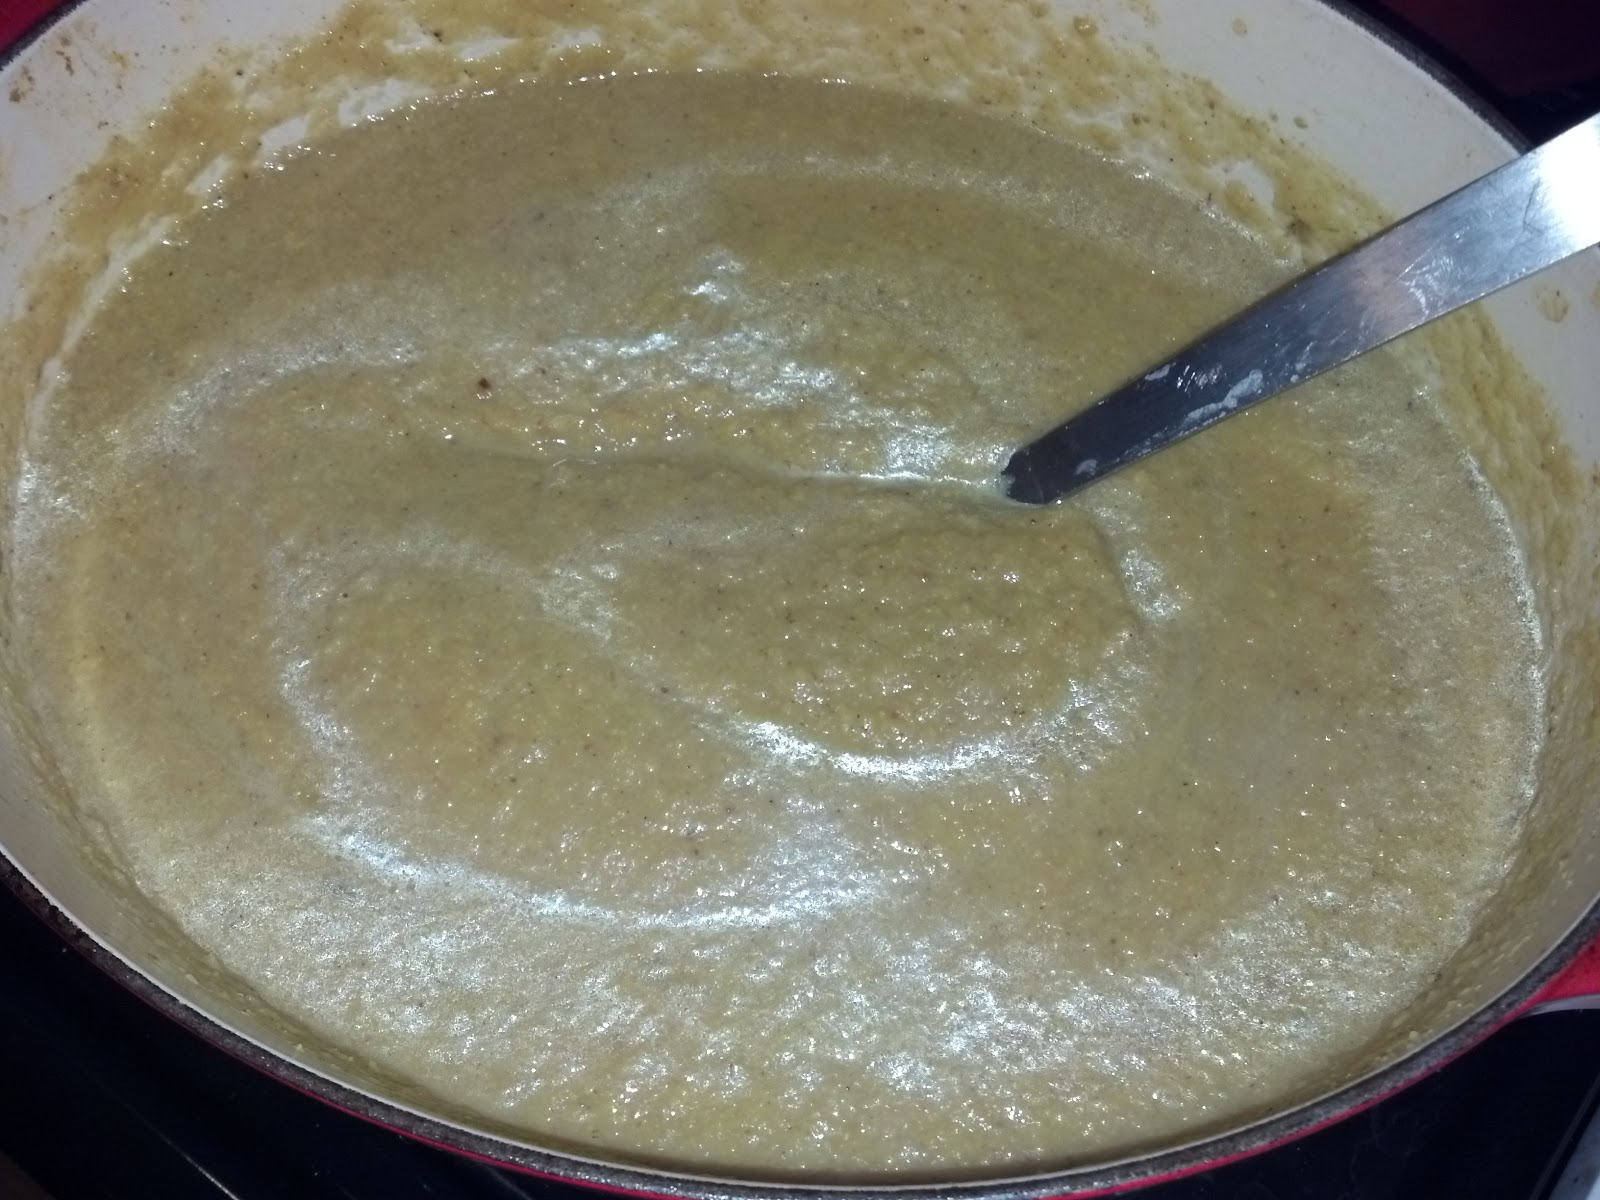

Transfer the soup in small batches to a traditional blender or use an immersion blender right in the pot.


Serve this with a drizzle of honey and hope your team plays more consistently next year.

December 29, 2012

Braised Turkey

The first recipe in The Four Hour Chef is a lesson on braising. This recipe is a first for me. I've never braised before and it was easy. The results were fork-tender, delicious turkey and an impressive gravy.

Braising is just cooking what is usually tough cuts of meat in liquid. The liquid could be water-based with herbs and spices, but most recipes call for wine. I had some hearty red wine left over from the holidays and some homemade chicken stock, so I felt remarkably prepared to tackle my first braising task.

Several years ago, Mark Bittman wrote about braising an entire turkey for Thanksgiving. I stumbled upon the article in my fervent braising research. He goes all in: butchering the whole bird, using fresh herbs, separating white and dark meat during cooking. I bet it's great, but that was too big a task for my first effort. I've also already internalized an important idea from Ferriss' book: shrink the margin of error. Instead of an entire turkey for a high-stakes holiday, I give you turkey drumsticks on a snowy Saturday night.


Ingredients & Tools
  • 2 turkey drumsticks
  • 4 carrots
  • 3 celery stalks [I added another while chopping]
  • 1 large onion [my equivalent was 1 tiny and 1 medium onion on this particular day]
  • 1 cup of wine
  • 2 cups of chicken stock or water
  • 1 tablespoon rosemary
  • 1 tablespoon basil leaves
  • 1 teaspoon ground sage
  • 2 bay leaves
  • salt
  • pepper
  • canola oil
  • oven safe pot with lid

Preheat the oven to 350 degrees and preheat a heavy pan with half an inch of canola oil. Rinse and dry the drumsticks. Season them liberally with salt and pepper.


The first way to introduce flavor in a braised dish is to brown the meat. Leave them untouched on one side for 5-7 minutes until the skin gets crispy and a beautiful browning has happened.


Practice some balancing skills by making sure all sides are browned. Remove the drumsticks and set aside.


Meanwhile, chop the onion, celery, and carrots. These three ingredients are the French holy trinity, culinarily referred to as mirepoix. I decided on a large chop because this is a slowly cooked dish. When I'm cooking over a long stretch of time, like in my CrockPot, a small dice becomes very mushy and seemingly disappears into the liquid.

Cook the onions and the celery together for about 5 minutes or until they begin to caramelize.


Create some room in the center of the pan and add the wine. Allow the alcohol to cook out, less than 5 minutes. Use a wooden spoon to deglaze. This just means scraping the caramelized meat and vegetable 'bits' [that's an industry term]. This is how the sauce becomes even tastier.


Add the carrots and the stock. My homemade stock produced 1 3/4 cups. Make sure there is enough liquid to cover the drumsticks halfway.


Combine the dried herbs and add them to the pot. If you have fresh herbs, use them. If you prefer a different combination, use them. Let this and all recipes be your guide, not a mandate.


Return the turkey back to the pot. I was short of the 2 cups of liquid, but this came up halfway, so I didn't add water.

Add the bay leaves, cover, and allow to braise in the oven for 90 minutes. Your turkey is done when a fork easily moves the meat away from the bone.


You will have this after an hour and a half. The gravy reduces beautifully. I added a touch more salt, but before you season it, taste the gravy. It reduces and concentrates in the oven.

We ate it with brown rice and loved the gravy. Loved!

December 28, 2012

Gifts for the Kitchen

I had never heard of Timothy Ferriss until Christmas morning. One of my gifts from my husband was Ferriss' book, The Four Hour Chef. I'm making my way through it quickly because it's well written and applies to so much more than getting good in the kitchen. Ferriss has created a successful business by tackling new things to mastery in very short time frames. He learned Japanese, Mandarin, German, and Spanish, won a gold medal in Chinese kickboxing, and is teaching me a new way to think about cooking. I love this gift.


I also have a new accessory from my wonderful friend, Nicole. We had a Secret Santa at work and the super supportive folks there have been reading the blog and, to my astonishment, trying the recipes! Nicole bought and jazzed up this apron. It's almost too pretty to dirty, but that's the point! Guess who had to quickly leave the room because the tears were coming.


To making messes in the kitchen in 2013!

December 19, 2012

Simple Roasted Chicken

Roasting a whole chicken intimidated me. The final product looked so impressive, I was convinced it was going to require culinary school-level skills. It doesn't. This is not just a simple dinner, but it is so economical and delicious--a combination that means I make this often. The whole chicken is far cheaper per pound than a package of chicken breasts or drumsticks. Everyone gets to have some of their favorite parts and, if you have the time, you can make your own stock too--also easy!

Roasting is baking, but with a savory food. Do not fear your oven. This verb was another culprit in making me think this recipe was out of reach. If you can successfully preheat and own a meat thermometer, you can do this.

You could dedicate a Ph.D. to researching roasted chicken recipes. The kinds of herbs you use are all just a matter of taste. The oven temperature and internal temperature of the chicken, I think, should be constant regardless of if you make a thyme and rosemary chicken or a beer-can chicken.


Ingredients & Tools

  • 1 whole chicken
  • 1 lemon
  • 1 head of garlic
  • 4-5 root vegetables
  • 4 tablespoons or 1/2 stick of cold unsalted butter
  • 5 tablespoons of olive oil
  • Kosher salt
  • pepper
  • baker's twine
  • meat thermometer
  • roasting pan

Preheat your oven to 425 degrees. This may seem high if you've roasted chickens before, but this hot oven produces excellent results: crisp skin, and moist meat, since the cooking time is reduced.


Use whatever root vegetables you're in the mood for. Carrots, parsnips, and potatoes all work. I was in a potato kind of mood and I'll be using the celery in a stock. Chop your vegetables and place in the bottom of your roasting pan. Season them with salt and pepper, but using olive oil, butter, or some other fat isn't necessary since the chicken will take care of that. This is the bed for your chicken.

This is my least favorite task: cleaning and handling raw meat. Do it quickly and move on with life. 


Season the inside of the chicken liberally with Kosher salt and pepper. In more involved recipes, you may be tying a bundle of herbs together, but the title of this post is simple roasted chicken and simple it will stay.

Cut the lemon in quarters and the head of garlic in half--no need to peel. Put both in the chicken. 


Cut the cold butter into thin pats. Use your fingers to gently separate the skin from the meat. Put the pats of butter under the skin. This is going to keep everything moist and flavor the chicken and the vegetables.


Rub the entire chicken [the outside now] with olive oil. I prefer this to butter on the skin because the milk solids in butter burn more easily.

Use some kitchen twine to tie the legs together. I have never attempted to truss a chicken. I will and I'll report back. In the meantime, if you haven't trussed either, just tie the legs together in a very simple knot and tuck the wings underneath so the tips don't burn. Leave the ends of the twine long enough to make removing it after cooking easy.

Roast until the dark meat reaches 165 degrees. This will vary depending on the size of the chicken and even by oven, but it will take roughly 75 minutes. I check the temperature after an hour and fifteen minutes exactly and judge how close to done it is at that time, but don't baste [that's what the butter's for!] or keeping opening the oven. That will just increase cooking time and that will increase the likelihood of a dry bird.

If your bird comes with the plastic pop-up timer, ignore it. As you can see it, it's in the breast and that cooks faster than the dark meat. When you're 75 minutes are up, place your meat thermometer in the leg. At 165, it's done. The breast meat won't be dry because of the butter. Life is good.


This will be your final product. Impress millions or just your family. We ate this the potatoes and spinach. 


The potatoes were amazing because of the garlic. If you need another reason to try this recipe, it's the potatoes. 

December 12, 2012

Slow Cooker Beef Stew

This is the kind of winter time comfort food that makes me ache for a snow day, endless couch time, and The West Wing episodes [pre-season 5]. Making this in the slow cooker allows the meat to be cut-with-a-spoon tender and all the flavors to infuse into the vegetables. I came home to the smell of this simmering after a long day at work and was probably too pleased with myself for prepping this the night before, when I would have preferred to watch [name of embarrassing show redacted to protect the integrity of this very serious blog].


Ingredients & Tools
  • 1 lbs. beef cubes
  • 5 carrots
  • 4 Yukon Gold potatoes
  • 2 onions
  • 1 cup of frozen peas
  • 1 can of crushed tomatoes
  • 1/2 cup of Worcestershire sauce
  • 3 cups of water
  • 4 teaspoons of salt
  • 3 teaspoons garlic powder
  • 2 teaspoons of oregano
  • 1 teaspoon of basil
  • 1 teaspoon of rosemary
  • 1 teaspoon of paprika
  • 1/2 teaspoon of crushed red pepper
  • slow cooker

This is a hefty list of spices, but you can easily adjust this to your tastes. I like the combination of the Worcestershire sauce and the less traditional rosemary and paprika. You spice this your way. I see recipes as suggestions, not rules. Of course, that kind of thinking doesn't apply to baking, but it may be quite awhile before you see a cake recipe in these parts. I digress. 


Chop the meat into smaller pieces. This will make it easier to eat and create more surface area for your spices. Add the meat and spices to the stoneware of your slower cooker. It will look like a lot of seasoning, but many vegetables and liquid will be added and all that seasoning will be distributed.


Leave the meat at the bottom and layer the vegetables on top. Peel and chop the carrots. Chop the potatoes. I didn't peel them. I don't think it's necessary for a stew. Add your chopped onion. 


Add the can of crushed tomatoes, Worcestershire, and water and stir.

Cook on low for 12 hours and add the peas about 30 minutes before serving. When you come home from work near fainting because you ate your 'lunch' at 10:30 in the morning, this will be waiting for you.